Aug 21, 2026
Content
Any water tank for house use that's connected to a private well exists to solve one basic problem: a well pump can't run continuously without wearing itself out, but a household needs water on demand at a steady pressure. The tank bridges that gap. It stores water under compressed air pressure so that opening a faucet draws from the tank's reserve first, not directly from the pump. Only once that reserve is used up does the pump switch trigger and refill the tank.
Inside a typical household water pressure tank, a rubber diaphragm or bladder divides the tank into two sealed sections — one holding compressed air, the other holding water. As the well pump pushes water into its side of the tank, it compresses the air on the other side of the diaphragm. That compressed air is what actually delivers pressure to the plumbing system: as fixtures draw water out, the air expands and pushes the remaining water out ahead of it, maintaining flow and pressure without the pump needing to run for every single draw.
This is, at its core, how a pressure tank for a water well works — it's a mechanical buffer, not an active pumping device. The tank itself has no moving parts beyond the internal diaphragm; all of the actual pumping work is done by the well pump, and the tank's only job is to store that output efficiently and release it smoothly. Because of this simple design, a properly functioning tank can run for well over a decade with essentially no intervention beyond an occasional pressure check.
The relationship between the well and tank is really a relationship between three components working together: the pump (which moves water and builds pressure), the pressure switch (which tells the pump when to start and stop based on tank pressure), and the tank itself (which stores the pressurized reserve). Understanding this three-part system is the foundation for diagnosing almost any pressure-related plumbing issue in a well-fed home, since a symptom that looks like a tank problem is sometimes actually a switch or pump problem, and vice versa.
One of the most common questions homeowners have is simply what should the pressure be in a well tank, and the answer depends entirely on the pressure switch setting controlling the pump, not on a single universal number. The rule of thumb used across the industry is to set the tank's air pre-charge to roughly 2 PSI below the pump's cut-in pressure — the pressure at which the switch turns the pump on.
For the most common residential setup, a 30/50 pressure switch (pump starts at 30 PSI, stops at 50 PSI), the answer to what psi should a well pressure tank be is around 28 PSI when the tank is completely empty of water. For a 20/40 switch, target roughly 18 PSI; for a 40/60 switch, target roughly 38 PSI. Setting the pre-charge correctly matters more than most homeowners realize — a pre-charge that's too low causes the tank to fill with water almost entirely before the pump shuts off, drastically shortening the usable drawdown and forcing much more frequent pump cycling. A pre-charge that's too high does the opposite, causing the pump to shut off too early and reducing the amount of usable water pressure delivered to the house.
If someone is asking how do I pressurize a water tank for the first time, the process is straightforward but requires the tank to be empty of water to get an accurate reading. Shut off the well pump at the breaker, open a hose bib or faucet to drain the tank fully, then use a standard tire-style pressure gauge on the Schrader valve at the top of the tank to check the current air charge. Add air with a bicycle pump, portable air compressor, or shop compressor in small increments, checking the gauge frequently to avoid overshooting the target pressure — a tank pre-charge that's overfilled can push the bladder past its designed flex range and shorten its life.
Regularly checking a well pressure tank is one of the simplest maintenance habits a homeowner can adopt, and it takes only a few minutes with basic tools. The most direct method for how to test a well pressure tank is the drain-and-gauge method: power down the pump, open a faucet somewhere in the house to relieve all water pressure and fully drain the tank, then read the air pressure at the Schrader valve with a standard gauge. Compare that reading against the target pre-charge for the installed pressure switch.
Beyond the basic pressure reading, there are a few additional checks worth running periodically as part of how to check a water pressure tank thoroughly:
Testing on a set schedule — most guidance suggests checking pressure at least once a year — catches slow air loss before it becomes a full waterlogging problem, and it's far cheaper and faster than an emergency call after the pump has already started failing from excessive cycling.
Most well water pressure tank problems trace back to one of a handful of root causes, and recognizing the pattern of symptoms usually points directly to the cause without needing to open the system up.
This is almost always caused by lost air pre-charge, whether from a slow leak at the Schrader valve or a torn bladder. With little air cushion left, the tank can only hold a small volume of usable water before pressure drops to the cut-in point, so the pump restarts far more often than it should.
Pressure that swings noticeably during a single use — strong at first, then weak — often indicates a pre-charge that's too low relative to the pressure switch settings, or a pressure switch that's miscalibrated or failing to hold its set points accurately.
A complete loss of pressure points away from the tank and toward the pump itself, a tripped breaker, a failed pressure switch, or a problem further upstream at the well — the tank is a passive storage component and rarely causes total pressure loss on its own.
A properly charged tank absorbs pressure surges when valves close quickly. When the air charge is low, that cushioning effect disappears and the sudden stop of moving water can cause audible banging in the pipes.
While pressure tanks store and pressurize water, water quality issues like iron bacteria in a toilet tank are a separate but related concern common to well-fed homes, since well water often carries dissolved iron and manganese that municipal water rarely does. Iron bacteria are naturally occurring microorganisms that combine iron (or manganese) with oxygen, producing a reddish-brown, slimy, or stringy buildup that commonly appears inside toilet tanks, on well casing components, and along pipe interiors.
The most recognizable signs are a rust-colored film or sludge coating the inside of the toilet tank, an oily rainbow sheen on the water's surface, a musty or swampy odor, and staining on fixtures, laundry, or the toilet bowl itself. While iron bacteria aren't generally considered a direct health hazard, they can clog plumbing, corrode fixtures over time, and create an environment that supports other bacterial growth, so persistent buildup is worth addressing rather than just cleaning away repeatedly.
Treatment typically starts with shock chlorination of the well and plumbing system to kill the existing bacterial colony, followed by ongoing prevention through iron filtration, water softening, or continuous low-level chlorination systems designed for well water. Regular cleaning of the toilet tank alone will remove visible buildup but won't address the underlying bacterial colony living in the well or plumbing, which is why the staining tends to return within weeks if the source isn't treated.
When a tank starts showing problems, the first question is whether a repair on the pressure tank is realistic or whether replacement is the more sensible path. Bladder-style tanks are largely non-repairable in the traditional sense — the internal diaphragm isn't designed to be serviced or swapped out in the field, so a torn or leaking bladder almost always means the tank itself needs to be replaced rather than fixed. What can often be repaired are the external components: the Schrader valve, the tank tee fitting, the pressure gauge, or the pressure switch itself, all of which are separate, serviceable parts.
If the diagnosis confirms the bladder has failed, the process for replacing a well tank generally follows the same steps regardless of tank size or brand:
The steps for how to replace a well pressure tank are straightforward mechanically, but the tank itself can be heavy once it's part of a larger system, and larger tanks may require a hand truck or a second person to maneuver safely, especially in tight basement or crawl space installations. Anyone unfamiliar with working around a pressurized plumbing system and electrical pump connections should have a licensed plumber handle the swap rather than attempting it without experience, since mistakes at the electrical connection to the pressure switch carry real safety risk.
Getting the sizing right matters just as much as getting the pressure setting right, and sizing a well tank correctly comes down to matching the tank's usable drawdown to the household's peak simultaneous water demand — not simply picking the largest tank that fits the available space.
A common reference point homeowners search for is what size pressure tank for a family of five, and while exact needs vary with fixture count, water-using appliances, and lifestyle, larger households generally benefit from tanks in the 40 to 80+ gallon range specifically because more simultaneous demand (multiple showers, laundry, and dishwashing overlapping) requires a bigger drawdown to avoid constant pump cycling. Smaller households or vacation properties with lighter demand can often run comfortably on a smaller tank, while at the extreme low end, a 3 gallon water tank is typically only appropriate for point-of-use applications like an under-sink reverse osmosis system, not as a household well pressure tank — it simply can't provide meaningful drawdown for whole-home plumbing.
Looking at water storage tank sizes more broadly, tanks are typically categorized by total volume and by usable drawdown, which is always a fraction of total volume since a portion of the tank always remains filled with compressed air or reserved for the pre-charge. A tank's actual usable drawdown is generally 30-40% of its total volume in a standard bladder design, so a 40-gallon tank might only deliver around 12-15 gallons of usable water before triggering a pump cycle. This is why manufacturers list both total tank volume and rated drawdown separately, and why comparing tanks by total gallons alone can be misleading.
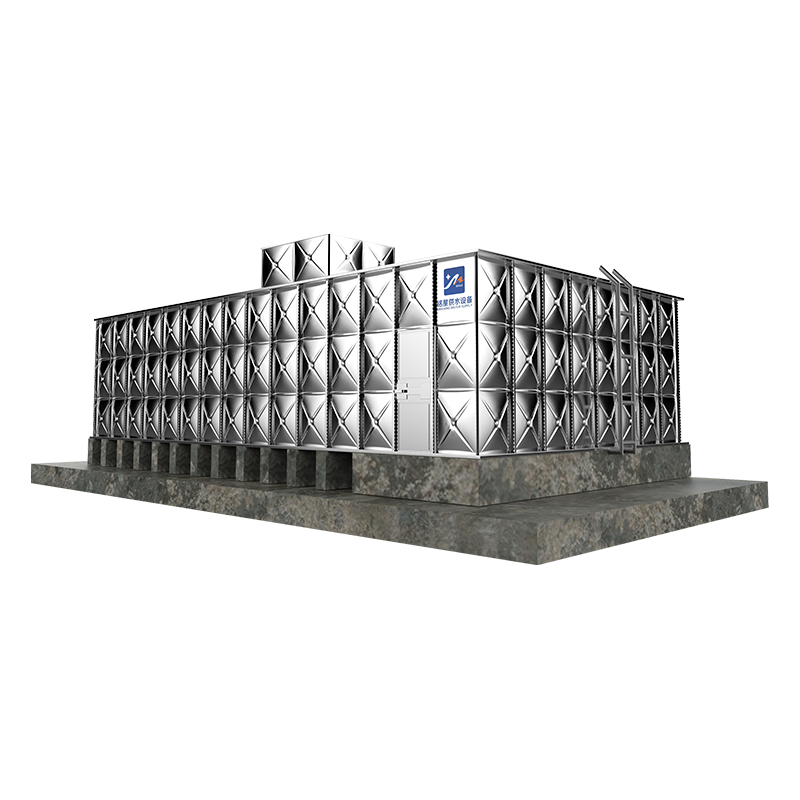
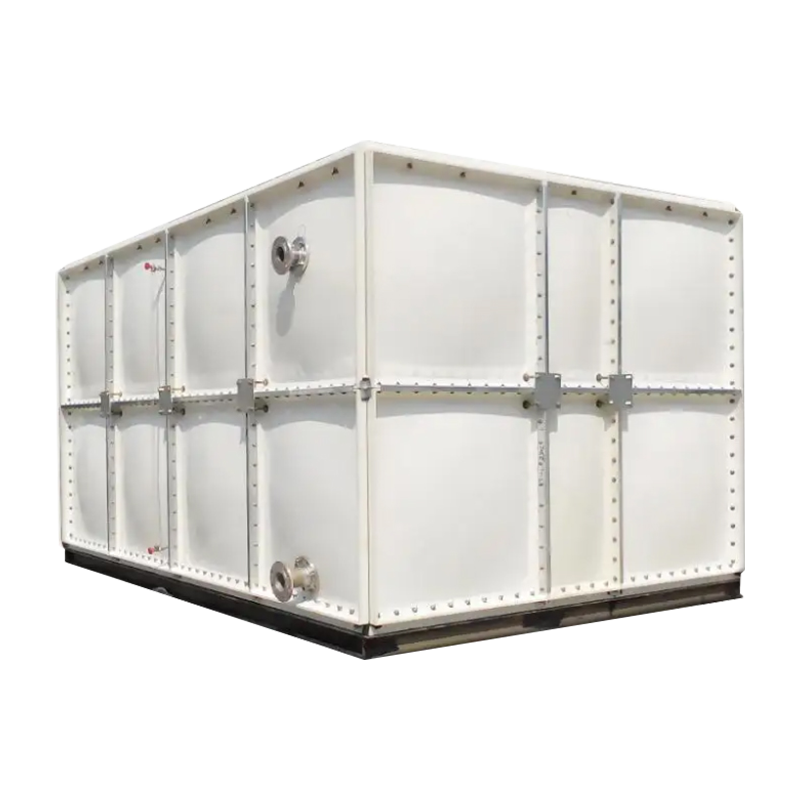
A well water storage tank used as a larger holding cistern — separate from the pressure tank — is sized differently, based on the well's recovery rate rather than peak simultaneous plumbing demand. Low-yield wells that recharge slowly benefit from a substantial holding tank that can accumulate water over hours, buffering against a well that simply can't keep pace with occasional high-demand periods like laundry day or watering the yard.
A water pressure booster tank serves a related but distinct purpose from a standard well pressure tank. Where a well tank stores and buffers pressure from a well pump, a booster tank is typically paired with a booster pump to increase pressure on an existing water supply — often used in homes on municipal water with naturally low incoming pressure, in multi-story buildings where upper floors receive weak flow, or in irrigation systems that need more pressure than the base supply provides.
The internal mechanics are largely the same bladder-and-air-charge design as a well pressure tank, and the same pre-charge and pressure-switch logic applies. The key functional difference is what's feeding the tank: a booster system pulls from an already-pressurized source and adds pressure on top of it, while a well system pulls from an unpressurized source (the well itself) and builds pressure from zero. Booster tanks are commonly sized smaller than well pressure tanks since their job is incremental pressure support rather than acting as the sole storage reserve for an entire home's water supply.
Understanding a basic plumbing a pressure tank diagram helps clarify how all the individual components connect and interact, even without getting into full schematic detail. In a typical setup, water travels from the well through the well casing and up a drop pipe to a submersible pump (or is pulled by a jet pump located above ground). From there, it moves through the pump's discharge line into the pressure tank system.
The tank connects to the plumbing system through a tank tee — a fitting with multiple ports that typically holds the pressure switch, a pressure relief valve, a pressure gauge, and the connection to the tank itself, all branching from a single point on the main water line. The pressure switch monitors line pressure and controls when the pump turns on and off, the gauge provides a visual pressure reading, and the relief valve protects the system from dangerous over-pressurization if the switch fails to cut out. From the tank tee, the main line continues into the house to a whole-house filter (if installed) and then branches out to individual fixtures throughout the home.
This layout — well to pump, pump to tank tee, tank tee to house — remains consistent across most residential installations regardless of whether the pump is submersible or above-ground, which is part of why the tank tee and its fittings are usually the first place to check when diagnosing a system-wide pressure issue rather than an issue isolated to one fixture.
Consistent well tank maintenance is what separates a tank that lasts 15-20 years from one that fails within a few. Fortunately, bladder-style tanks require very little compared to older air-over-water designs, but a handful of habits go a long way toward maximizing service life:
None of these tasks require special tools beyond a basic pressure gauge and an air source, and together they take less than half an hour a year — a small time investment against the cost of an emergency pump replacement caused by years of unnoticed short-cycling.
Related Products

Contact us
Headquater Address
Room 901, Building 17, Lane 1088, Shen Hong Road, Minhang District, Shanghai
Factory Address
No. 1, Mingxing North Road, Tech Innovation Park, Jianhu County, Yancheng, Jiangsu, P. R. China
Amy@mxwatersupply.com
Amy@mxwatersupply.com
Telephone(Whatsapp/Wechat)
+86-18051685983
QR CODE

 English
 Français